Module 3 — Tools & Adhesive Mastery
Precision, control & environmental awareness for classic lashing.
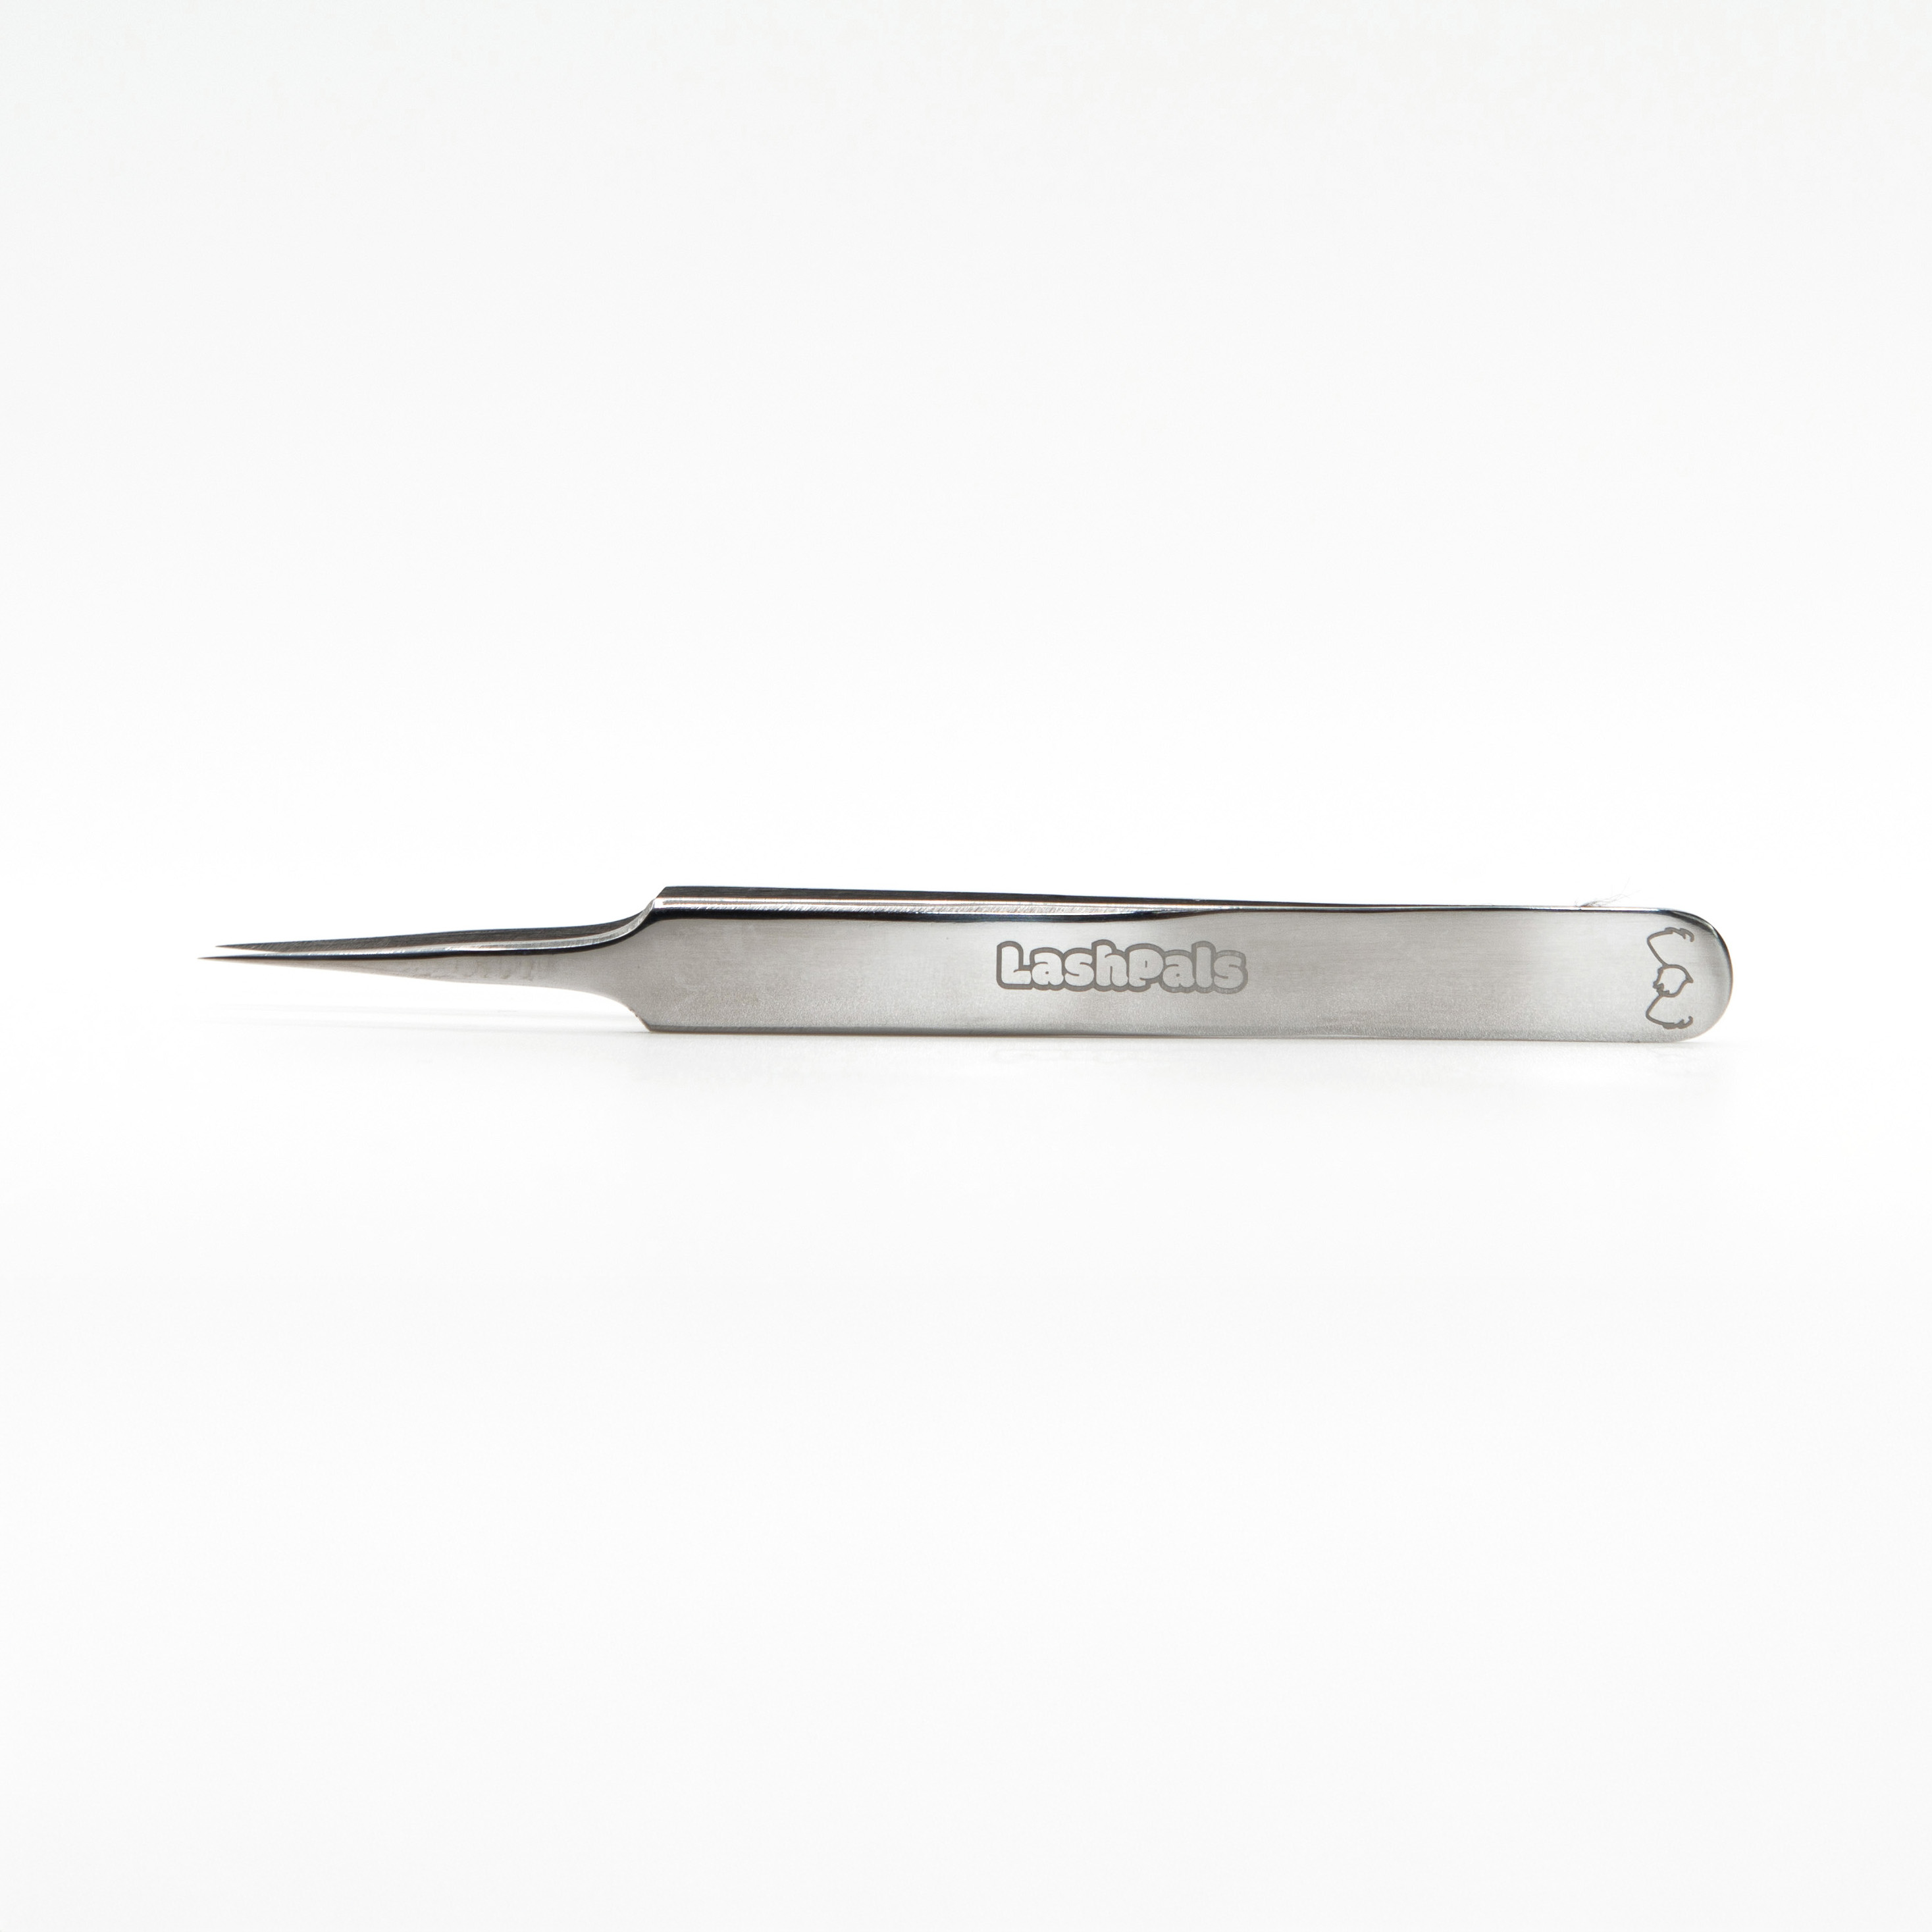
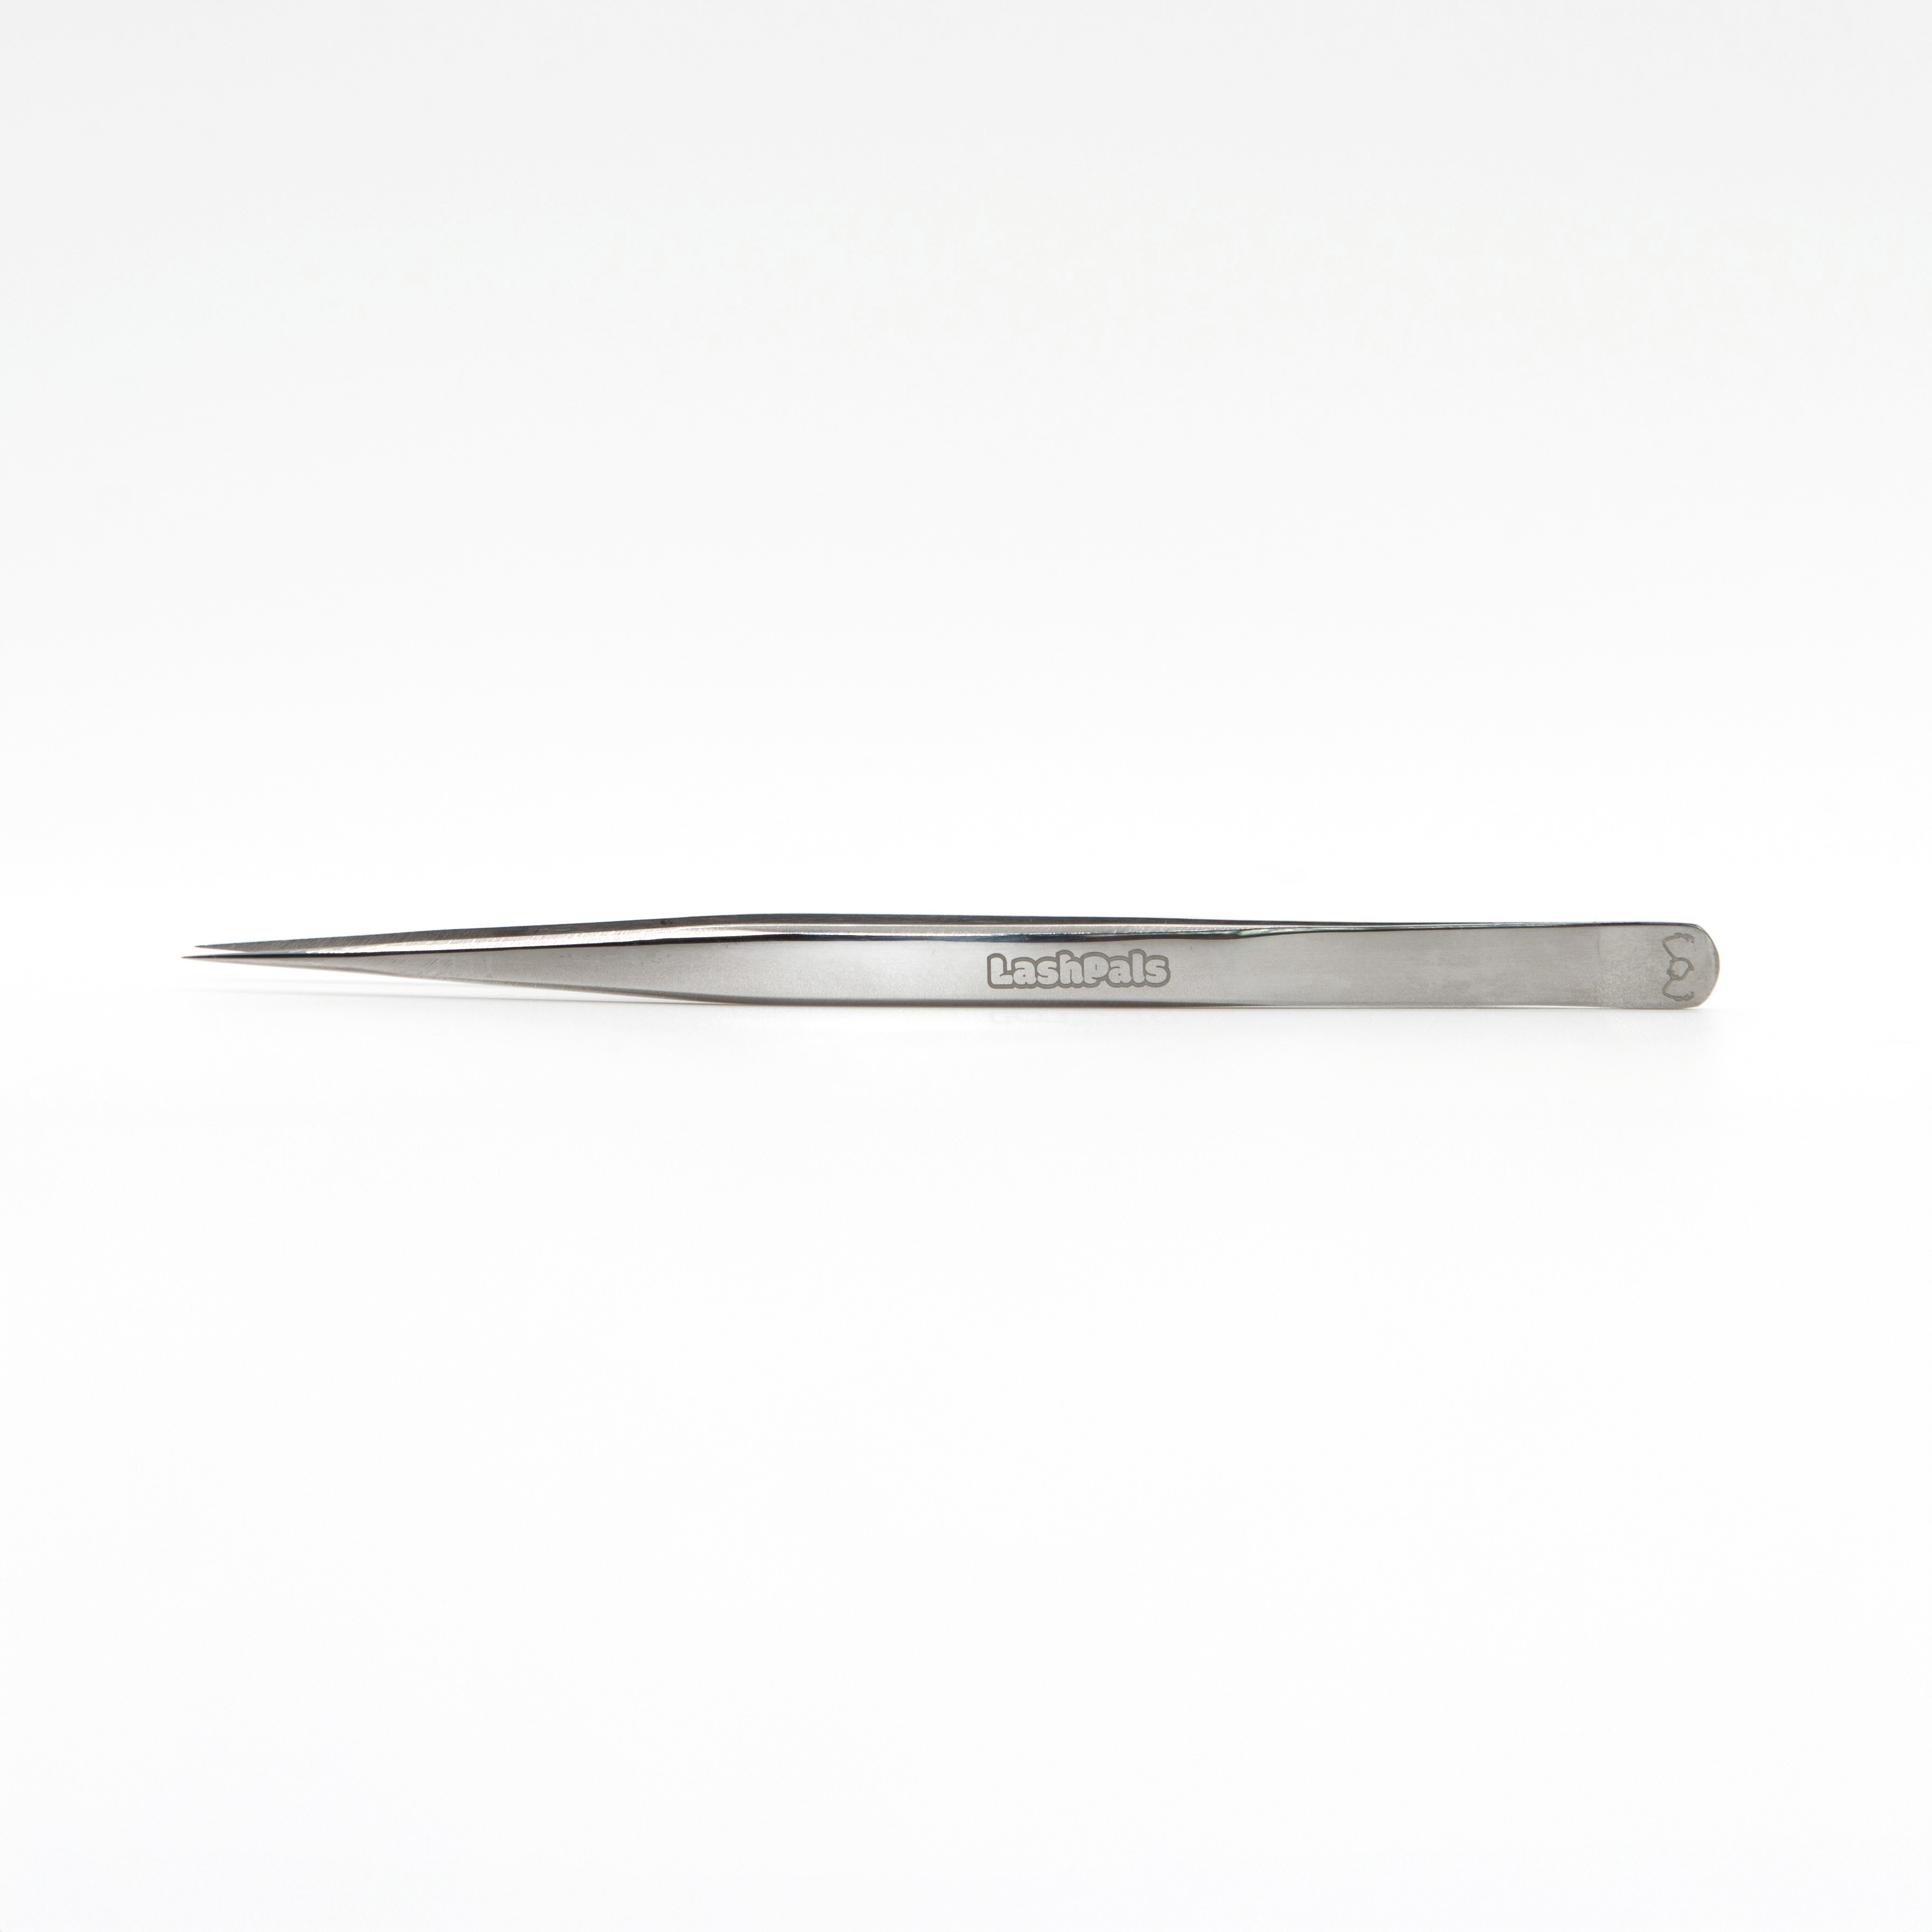
Part 1 — Tweezer Types & Control
Your tweezers are your primary tools. Poor quality tools = poor isolation = poor retention.
1. Isolation Tweezers
Purpose: Separate one natural lash from the others; prevent stickies (multiple lashes glued together).
Characteristics:
- Straight or slightly curved; thin, sharp tip; precise control
Without proper isolation:
- Damage occurs, natural lashes get glued together
- Pain during lash shedding
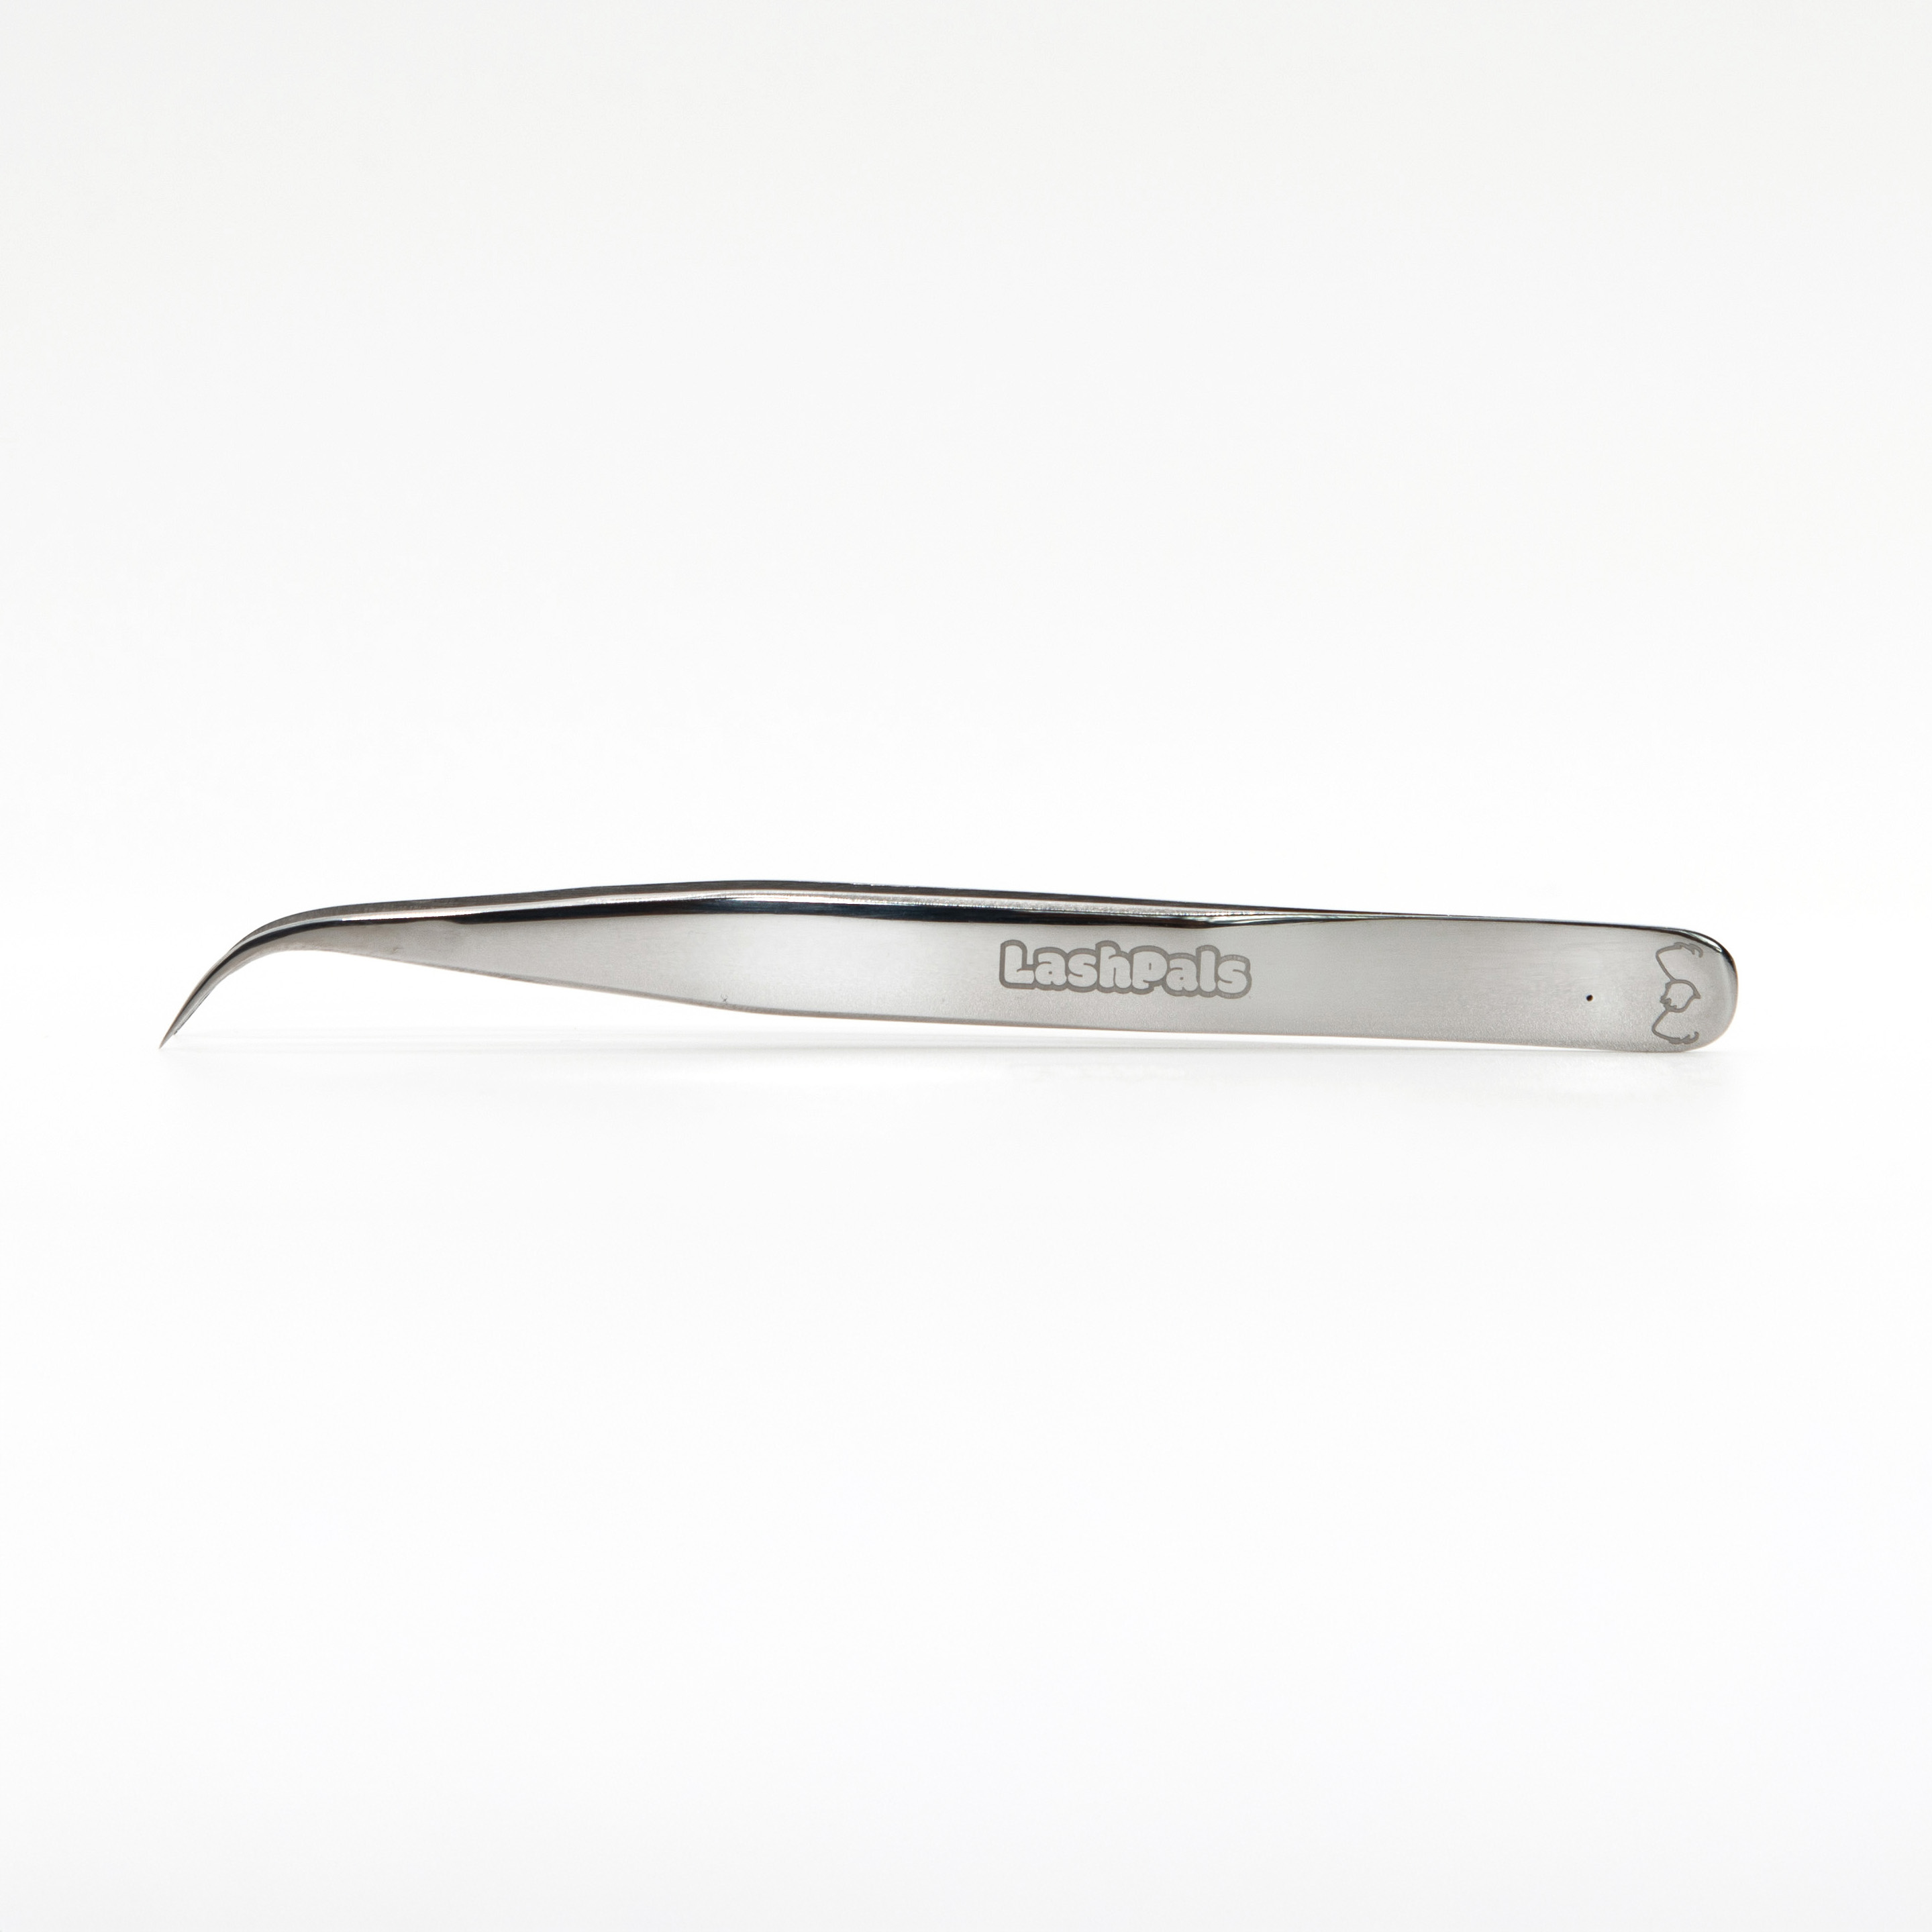
View LashPals Isolation tweezers here.
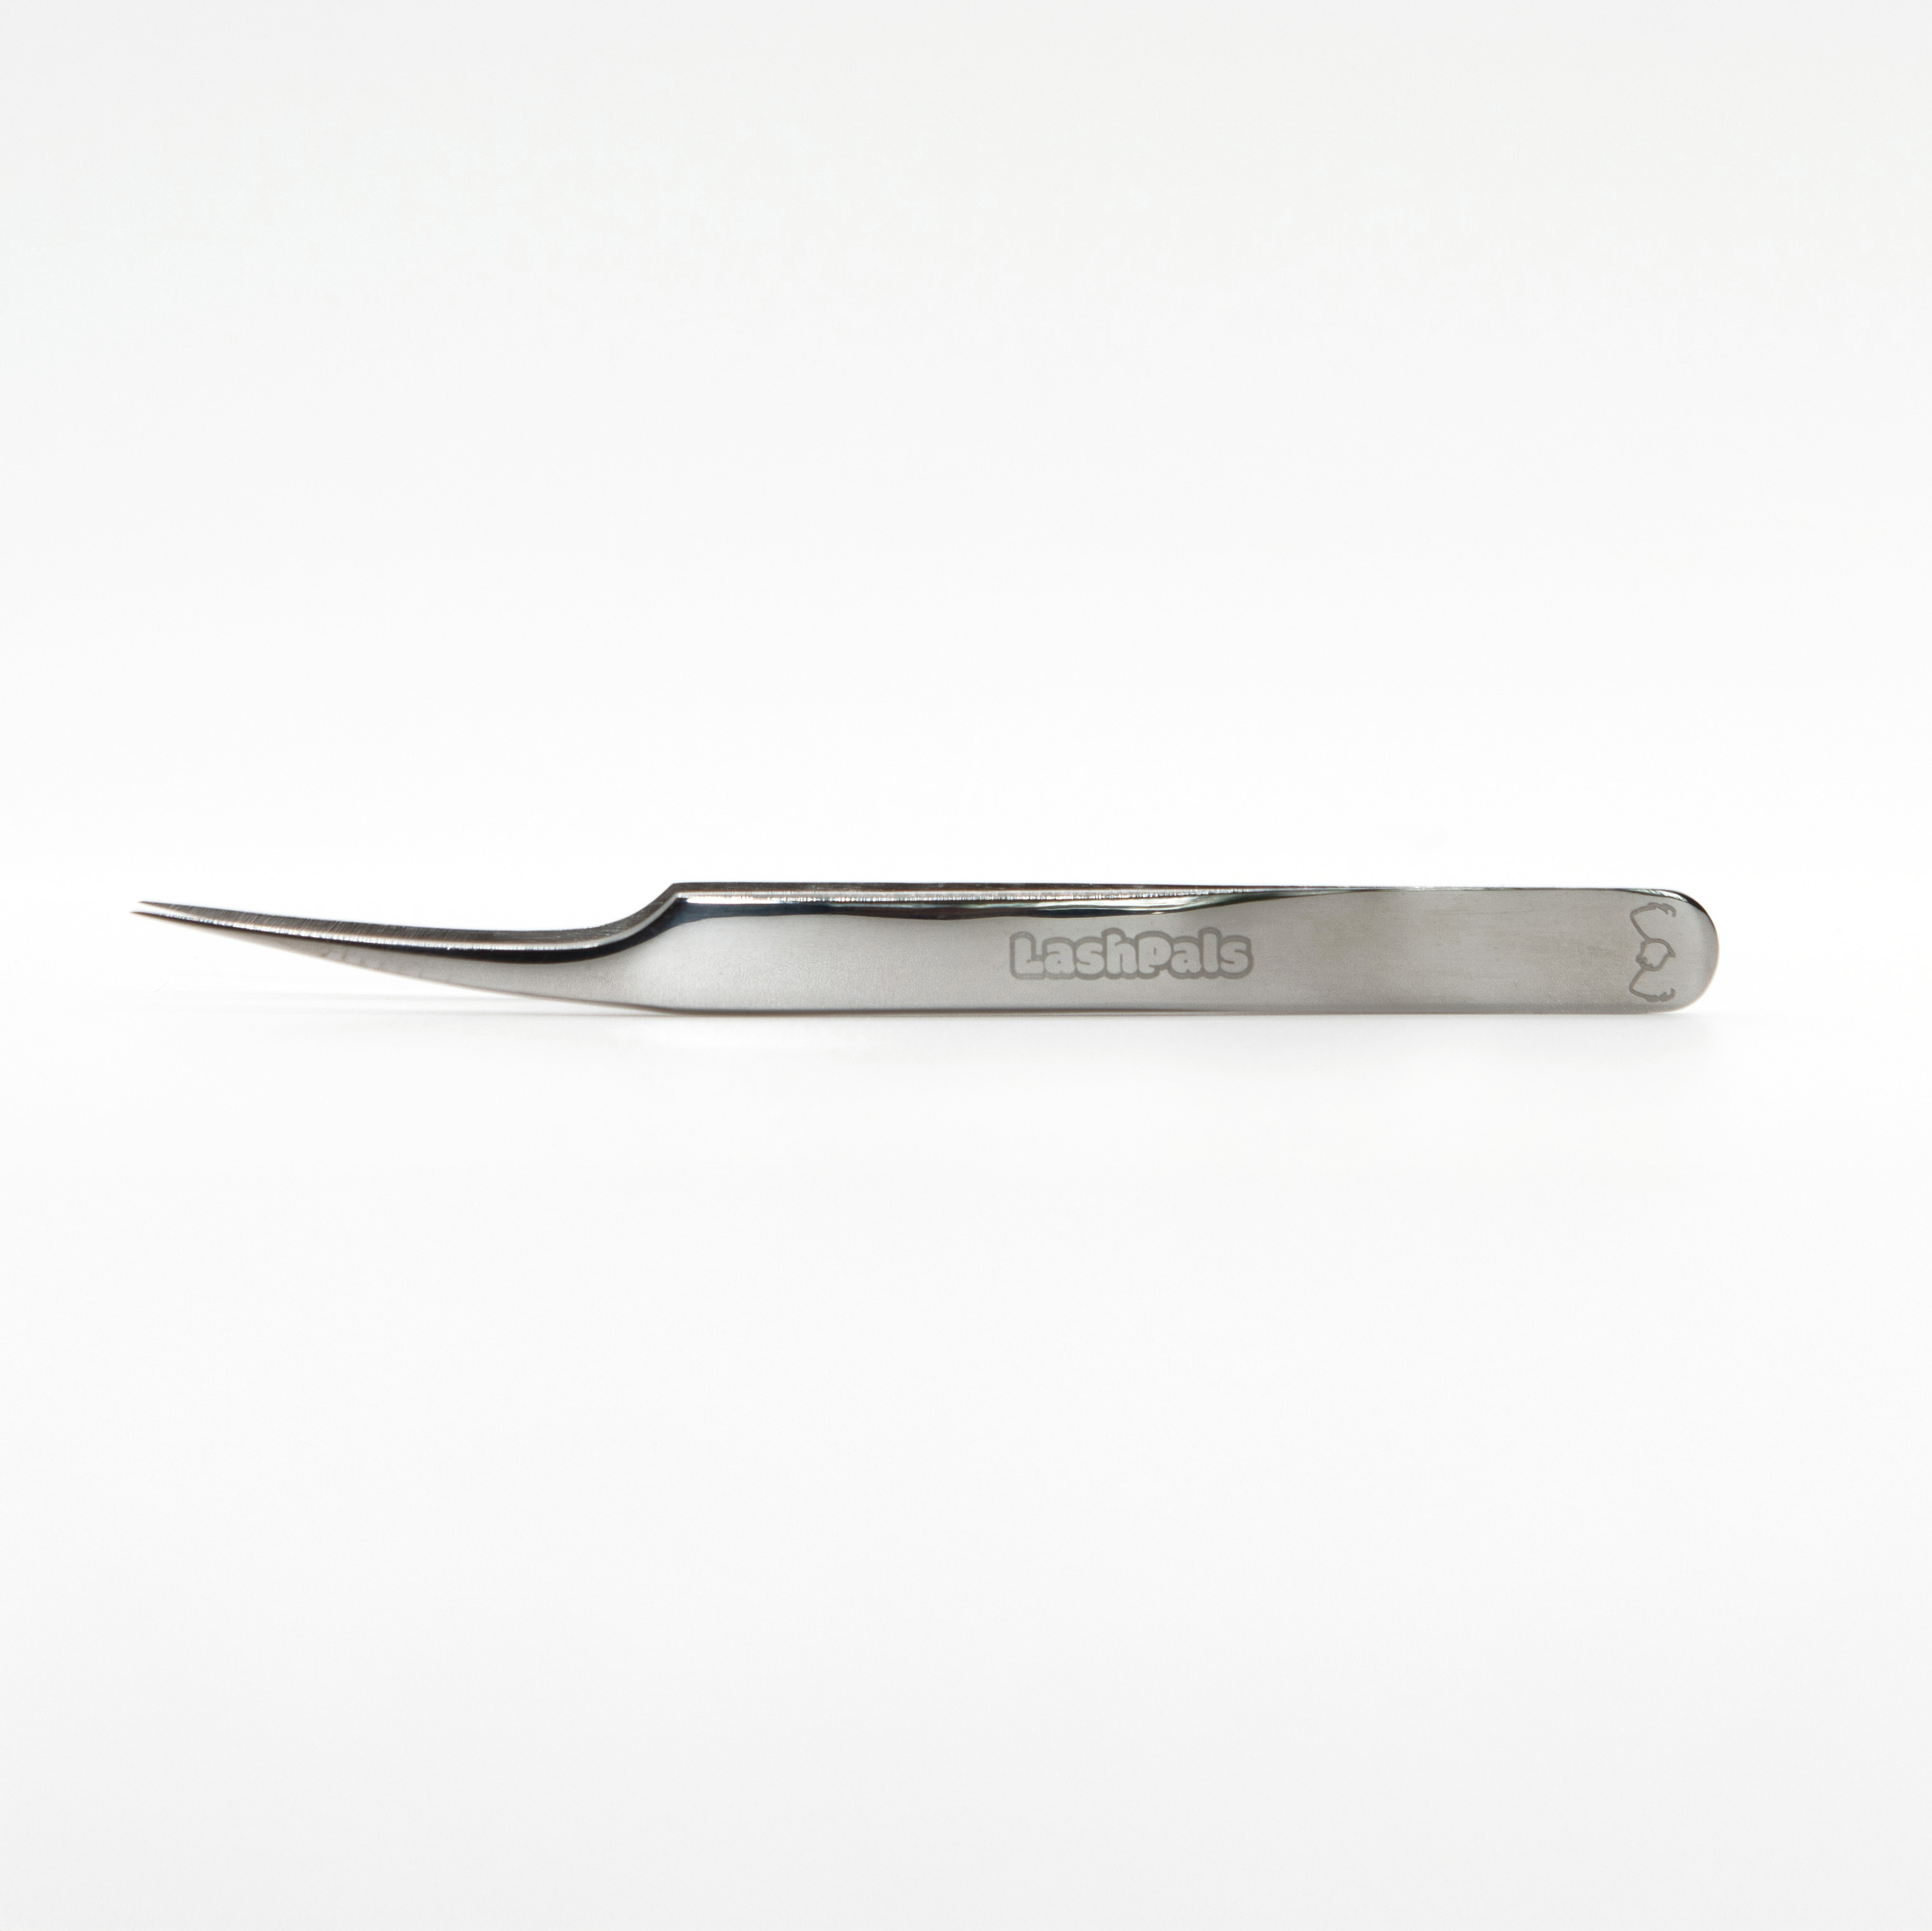
2. Placement Tweezers
Purpose:
- Pick up extension, dip into adhesive, place onto natural lash
- Classic lashing usually uses J-curved or slim-tip L-shape
- The grip must be strong, stable, aligned at tip
Tweezer safety:
- Clean and disinfect after every client
- Check tip contact and alignment regularly
View LashPals Classic Tweezers and Universal Tweezers on lashpals.ca.
Part 2 — Proper Adhesive Dip Amount
This is one of the most important technical skills. Too much glue = clumping and excessive weight. Too little = poor retention.
The ideal glue amount: For classic lashes, a small, smooth bead — no large droplet, no thick bubble, no visible pooling. The adhesive should coat 1–2 mm of the base, not the entire extension.
Proper dip technique:
- (1) Insert only the base (not entire lash)
- (2) Dip lightly
- (3) Pull upward slowly
- (4) Avoid scraping the bottom surface where glue dot is placed — scraping introduces air bubbles
Replace glue drops every 15–20 minutes even if it looks usable. Old glue = weak bond.
Part 3 — Humidity & Temperature Control
Adhesive is activated by moisture. Ideal conditions (check brand label): typically 40–60% humidity, 20–23°C (68–73°F). LashPals Bear Adhesives work in a much wider range. Always use a hygrometer with thermometer (e.g. from Amazon).
- If humidity too low → glue cures slowly, extensions slide, weak bond: use humidifier.
- If too high → cures too fast, brittle bonds, stickies: use dehumidifier.
Part 4 — Adhesive Behaviour & Control
Cyanoacrylate cures when exposed to moisture, forms polymer chains, releases mild heat, thickens over time when exposed to air. This is curing, not “drying.” Signs adhesive isn’t working properly:
- Lashes popping off within days
- White residue (shock curing)
- Excess fumes, sticky bonding, extensions sliding — usually environmental
Shock polymerization occurs when too much moisture hits adhesive at once (glue turns white or brittle); can happen with over-misting (LashPals recommends Purrfect Bonder to minimize).
During service:
- Work in small sections
- Maintain isolation
- Check attachment before releasing
- Adjust speed to glue cure time
- Monitor client watering
- (1) Proper weight of extensions
- (2) Proper isolation
- (3) Proper glue amount
- (4) Proper environment